

Here is Chef Ed’s Classic Hummus recipe, with rich detail, personal touches, and culinary tips, suitable for a website, blog post, or recipe card.
🧄 Chef Ed’s Classic Hummus
The Silky, Garlicky Dip That Does It All
When it comes to dips, spreads, and snack staples, nothing hits like a well-made hummus. Chef Ed’s version brings the perfect balance of creamy texture, zesty citrus, earthy tahini, and a whisper of garlic. Whether you’re dipping warm pita, spreading it on a sandwich, or topping off a grain bowl, this hummus recipe delivers flavor, nutrition, and versatility.
🥣 Why Make Hummus at Home?
Store-bought hummus is convenient, but it often lacks that fresh, clean finish that comes from just-squeezed lemon juice and premium tahini. Homemade hummus, especially when done Chef Ed’s way, takes less than 10 minutes and gives you total control over flavor, texture, and saltiness.
Best of all? It’s 100% plant-based, packed with protein and fiber from chickpeas, and endlessly customizable.
✅ Ingredients You’ll Need:
- 1 (15 oz) can chickpeas, rinsed and drained
- ¼ cup lemon juice (freshly squeezed)
- ¼ cup tahini (good quality, stirred)
- 1 small garlic clove, minced
- 2 tablespoons extra virgin olive oil (plus more for drizzling)
- ½ teaspoon ground cumin
- ½ teaspoon salt (or to taste)
- 2 to 4 tablespoons ice-cold water
Optional Garnishes:

- Paprika or sumac
- Chopped parsley
- A few whole chickpeas
- Extra virgin olive oil drizzle
🔥 Step-by-Step Instructions
Step 1: Whip the Tahini and Lemon Juice
This step sets the foundation for a creamy hummus. Combine tahini and lemon juice in a food processor and blend for 1 minute. This emulsifies the tahini, making it lighter and smoother.
Step 2: Add Garlic, Cumin, and Salt
Toss in the minced garlic, cumin, and salt. Pulse a few times until everything is incorporated.
Step 3: Blend in Chickpeas
Add the chickpeas in two additions. This helps your food processor break them down evenly and makes for a silkier final product. Scrape down the sides as needed.
Step 4: Adjust Texture
While the processor is running, slowly stream in 2–4 tablespoons of cold water. Ice water is the secret to that fluffy, airy hummus texture that clings beautifully to bread or veggies.
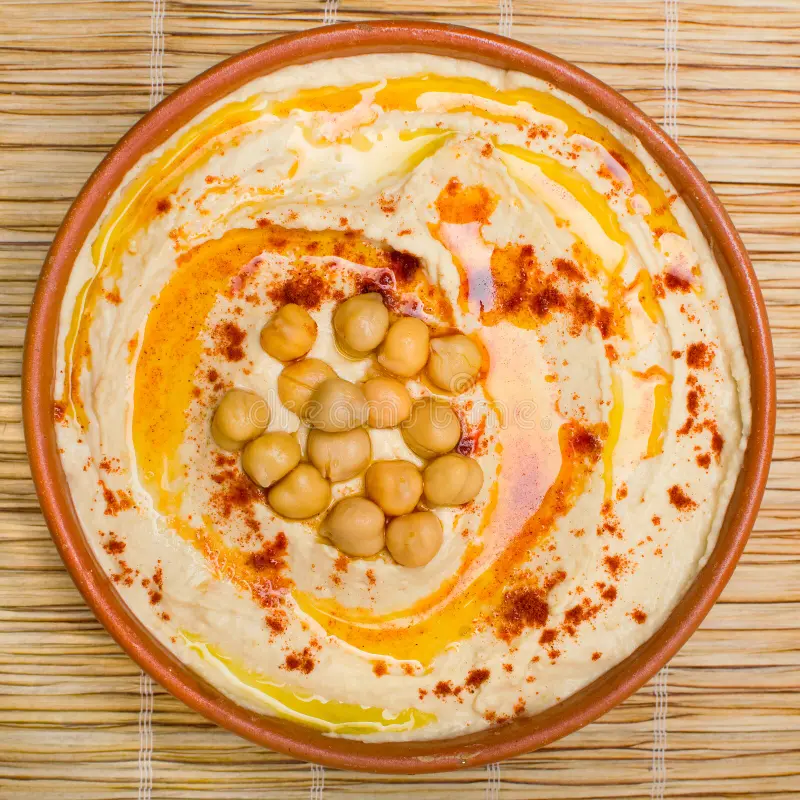
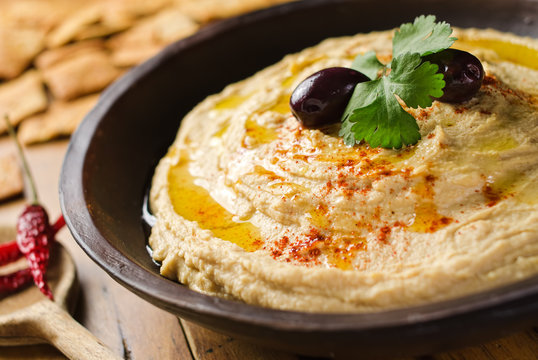
Step 5: Plate and Garnish
Spoon your hummus into a shallow bowl. Use the back of a spoon to create swoops and wells. Drizzle with olive oil, sprinkle with paprika or sumac, and add a few chickpeas or chopped parsley for visual flair.
🧑🍳 Chef Ed’s Pro Tips

-

- Roasted Red Pepper Hummus with Fresh Vegetables

- Peel your chickpeas if you have time. This extra step removes the skins and gives the hummus a luxe smoothness.
- Roasted garlic gives a mellow, sweet depth. Sub it in for raw garlic if you’re garlic-shy.
- Quality tahini matters. Look for tahini made from 100% sesame seeds — no added oil or salt.
🔄 Variations
- Spicy Hummus: Add a spoonful of harissa or a pinch of cayenne.
- Roasted Red Pepper Hummus: Blend in half a roasted red pepper.
- Green Hummus: Toss in a handful of parsley or spinach for color and herby punch.
🥙 How to Serve
- With warm pita, naan, or flatbread
- As a sandwich or wrap spread
- In grain bowls or Mediterranean-style plates
- Alongside falafel or grilled meats
- As part of a mezze board with olives, pickles, and baba ganoush
🧊 Storage
Keep your hummus in an airtight container in the fridge for up to 5 days. The flavors deepen over time. Give it a stir before serving, and top with a fresh drizzle of olive oil.


